02. Building a Model with Google AutoML
Google Cloud AutoML Vision
The following tutorial will guide you through the process of creating and training a model on Google Cloud's AutoML Vision platform. Go through the following steps to complete the project.
Steps:
- Download Kaggle Chest X-Ray Images (Pneumonia) Dataset, if you haven't already: https://www.kaggle.com/paultimothymooney/chest-xray-pneumonia#chest_xray.zip.
- Go to Google AutoML: https://cloud.google.com/automl/.
- Click “TRY AUTOML” and select “AutoML Vision”.
- Sign in to Google Developer or create an account.
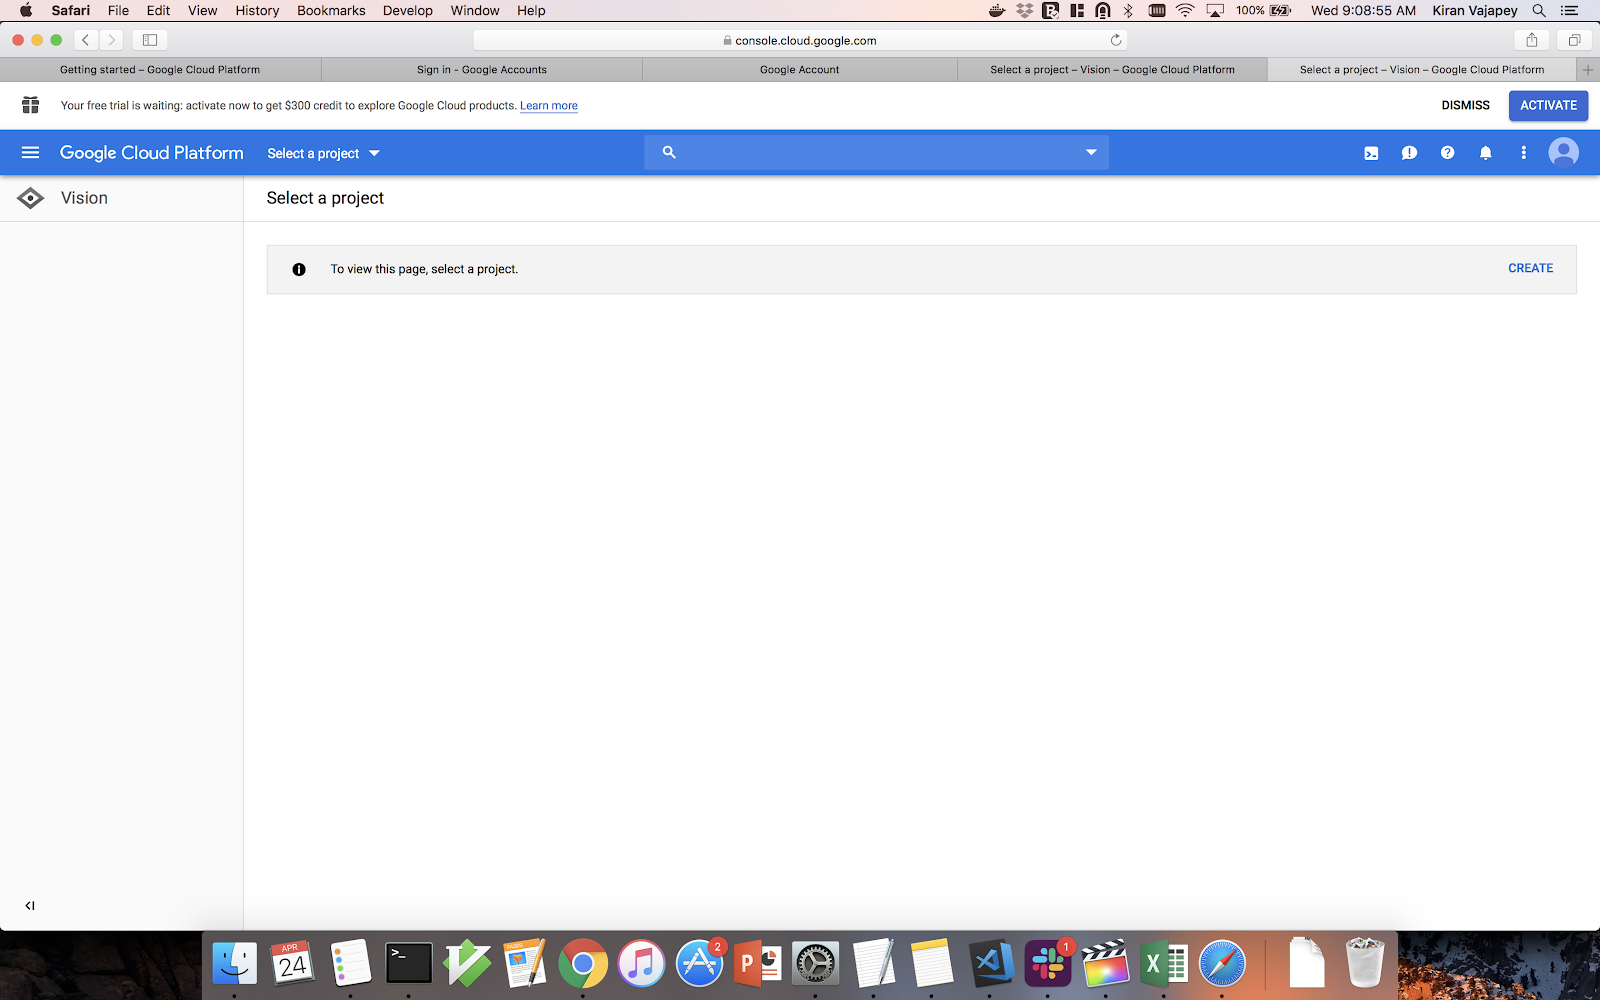
- After you log in, head to the AutoML Vision Console: https://console.cloud.google.com/vision and Accept the terms of service.
- Next create a project with any title.
Here is a link to the chest-xray.zip in case you are unable to download it from Kaggle.

- Once on the dashboard click “Get Started” on AutoML Image Classification.
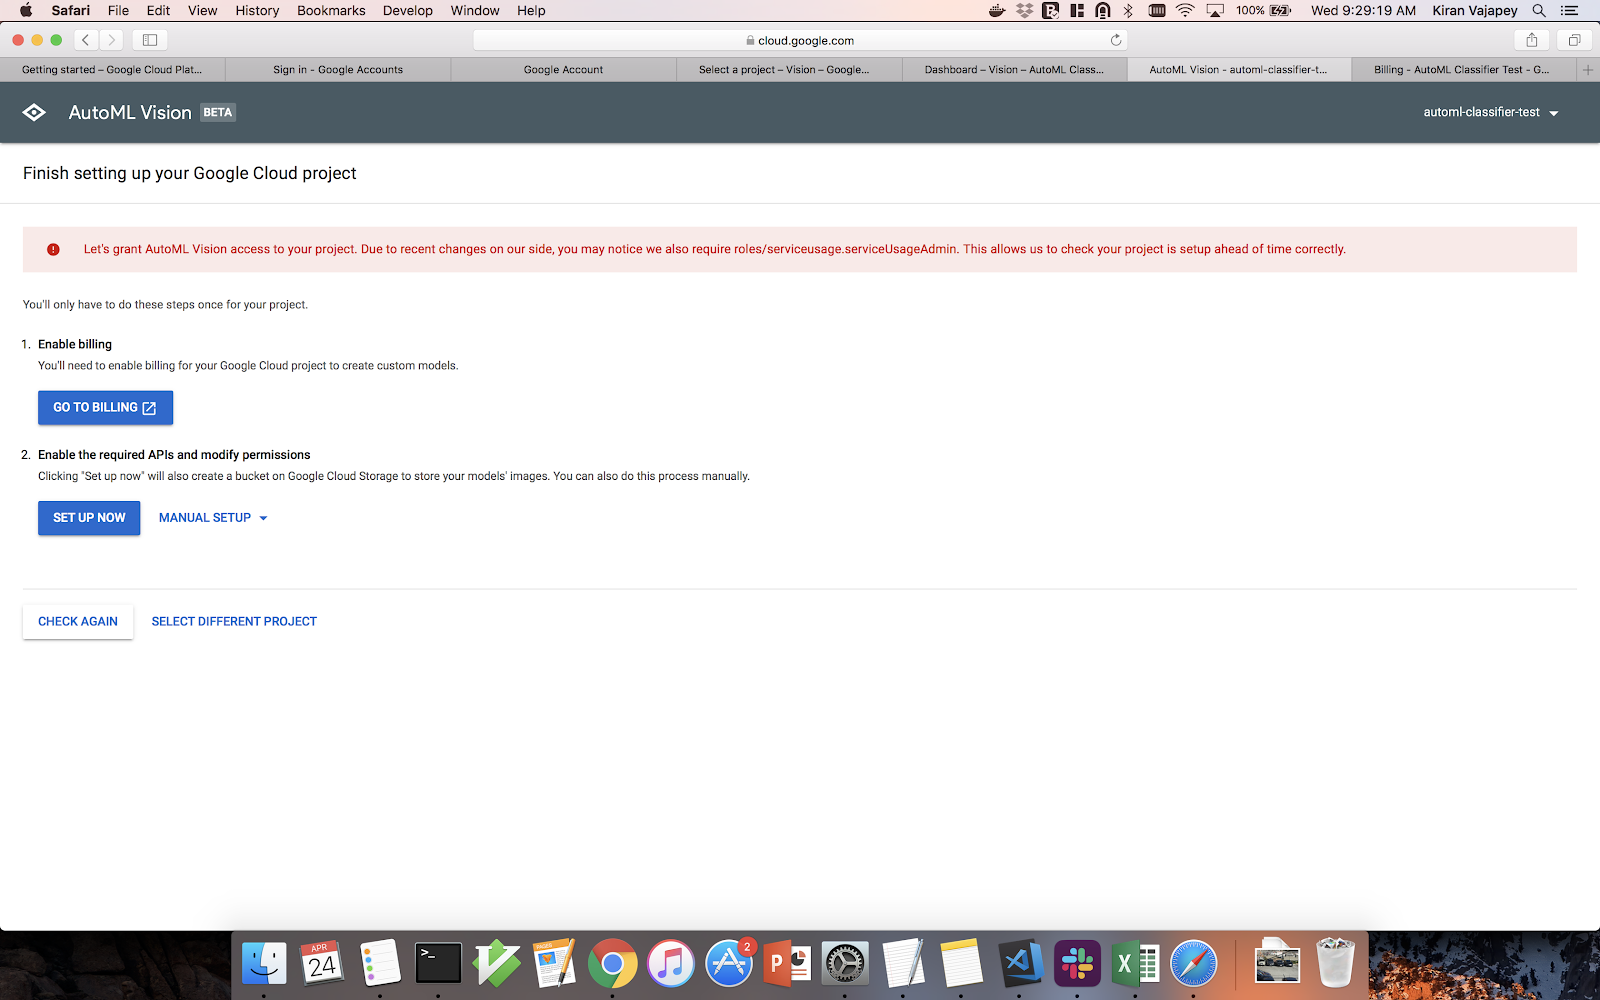
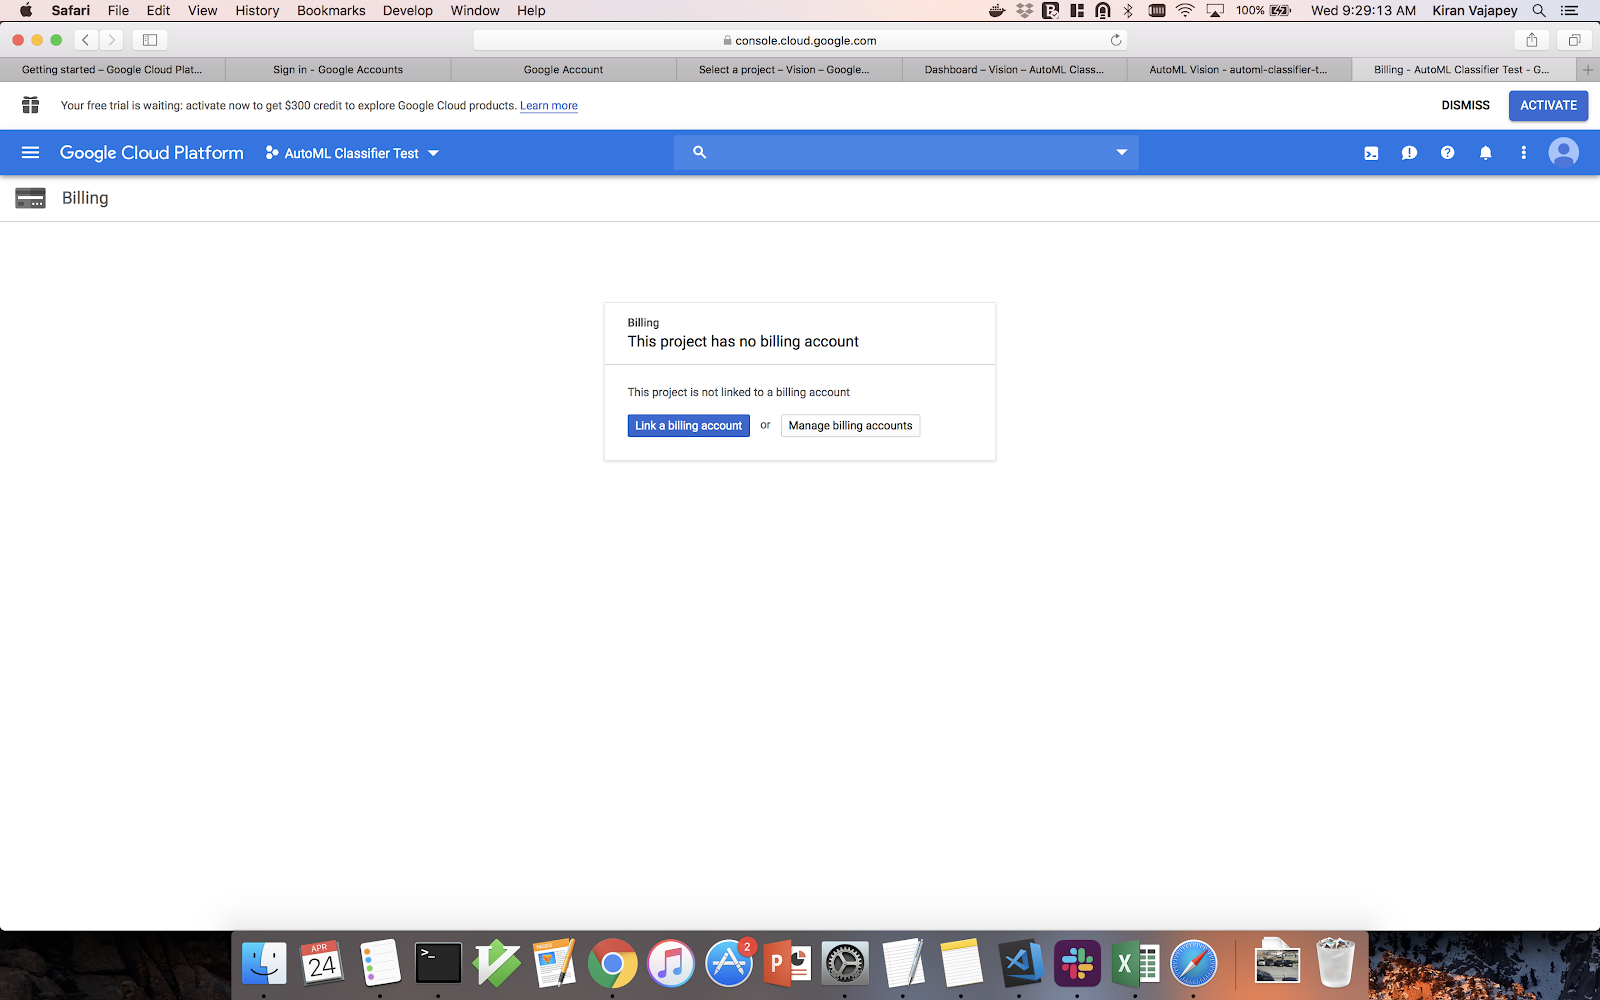
- Accept all the screens then you will reach the last page where you have to set up billing and Vision API.
- When you go to billing you should see an option to activate free $300 credit at the top of the screen. Click “ACTIVATE”.
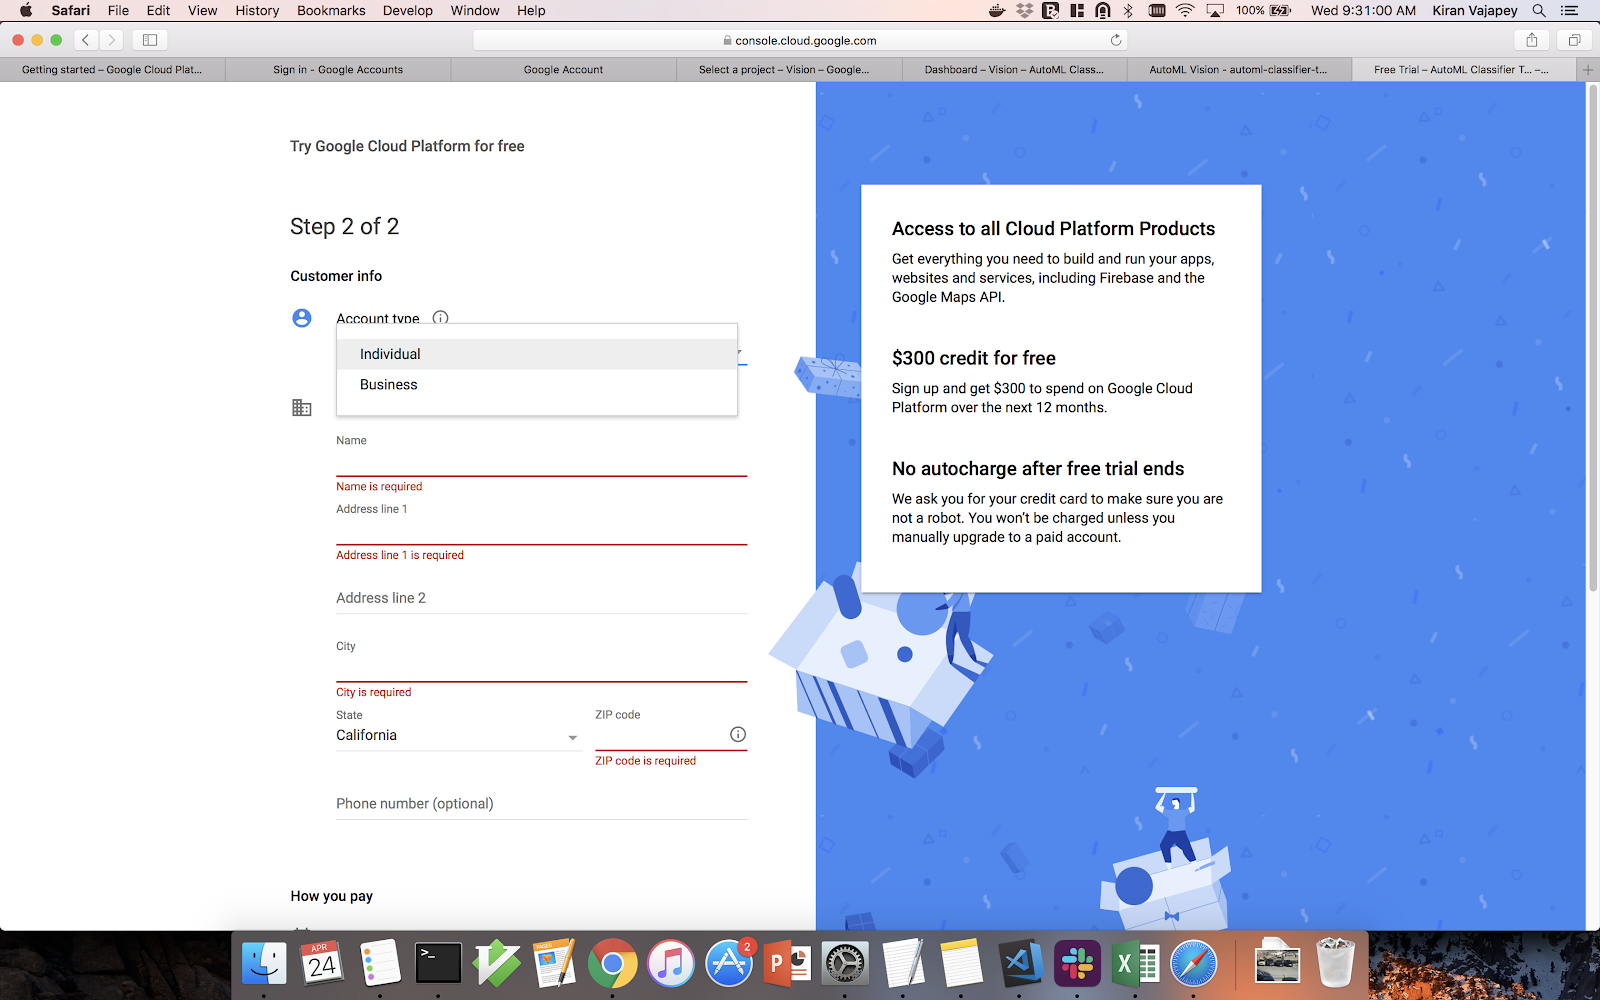
- Select “Individual” account type and input all necessary info including card. Google does not charge this card unless you manually upgrade to a paid account.
We strongly advise students to not upgrade to a PAID account.
Your credit card will be charged in case you switch to a PAID account. This is done through the Google Cloud Console. Switching to a PAID account requires clicking the Activate button.
Please bear in mind the following guidelines from the Google Cloud Platform Instructions
The free trial ends when you use all of your credit, or after 3 months, whichever happens first.You may also lose your data after the trial period is over.
We recommend that you review the full set of guidelines from Google Cloud Platform services.
Set up Budgets and Alerts
You can use the Budget Alert tool on GCP to set up alerts when you have used 50%, 75% and 90% of your free credits within your trial period. This way you will be alerted as you are approaching the credit limit with your trial period.
Here is a video provided by Google to help you set up budget alerts:
- Video detailing how to create Budgets and Alerts
SOLUTION:
- Yes, I understand I will be charged if I switch to a paid account, and I will be responsible for any charges.
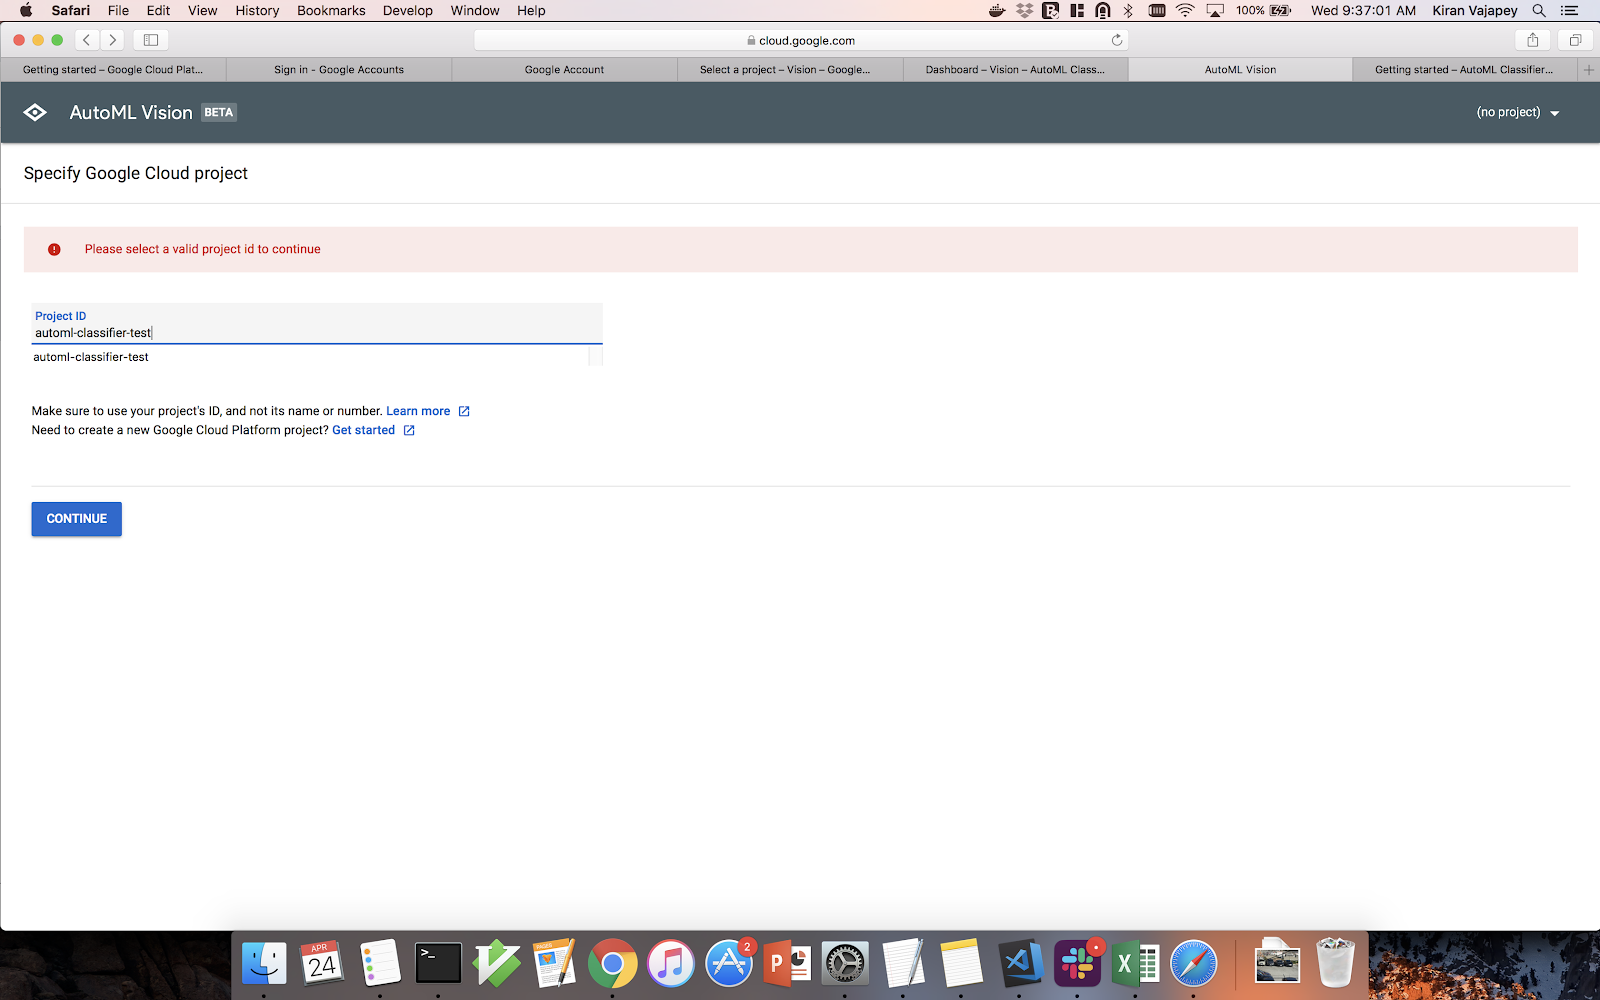
- Once you have completed the billing you can go back to the project set up page and click “SET UP NOW” to enable the vision API. This will automatically set up the API and should redirect you select the Google Cloud Project.
- In the dropdown you should see the project that you created. Select the project and continue.
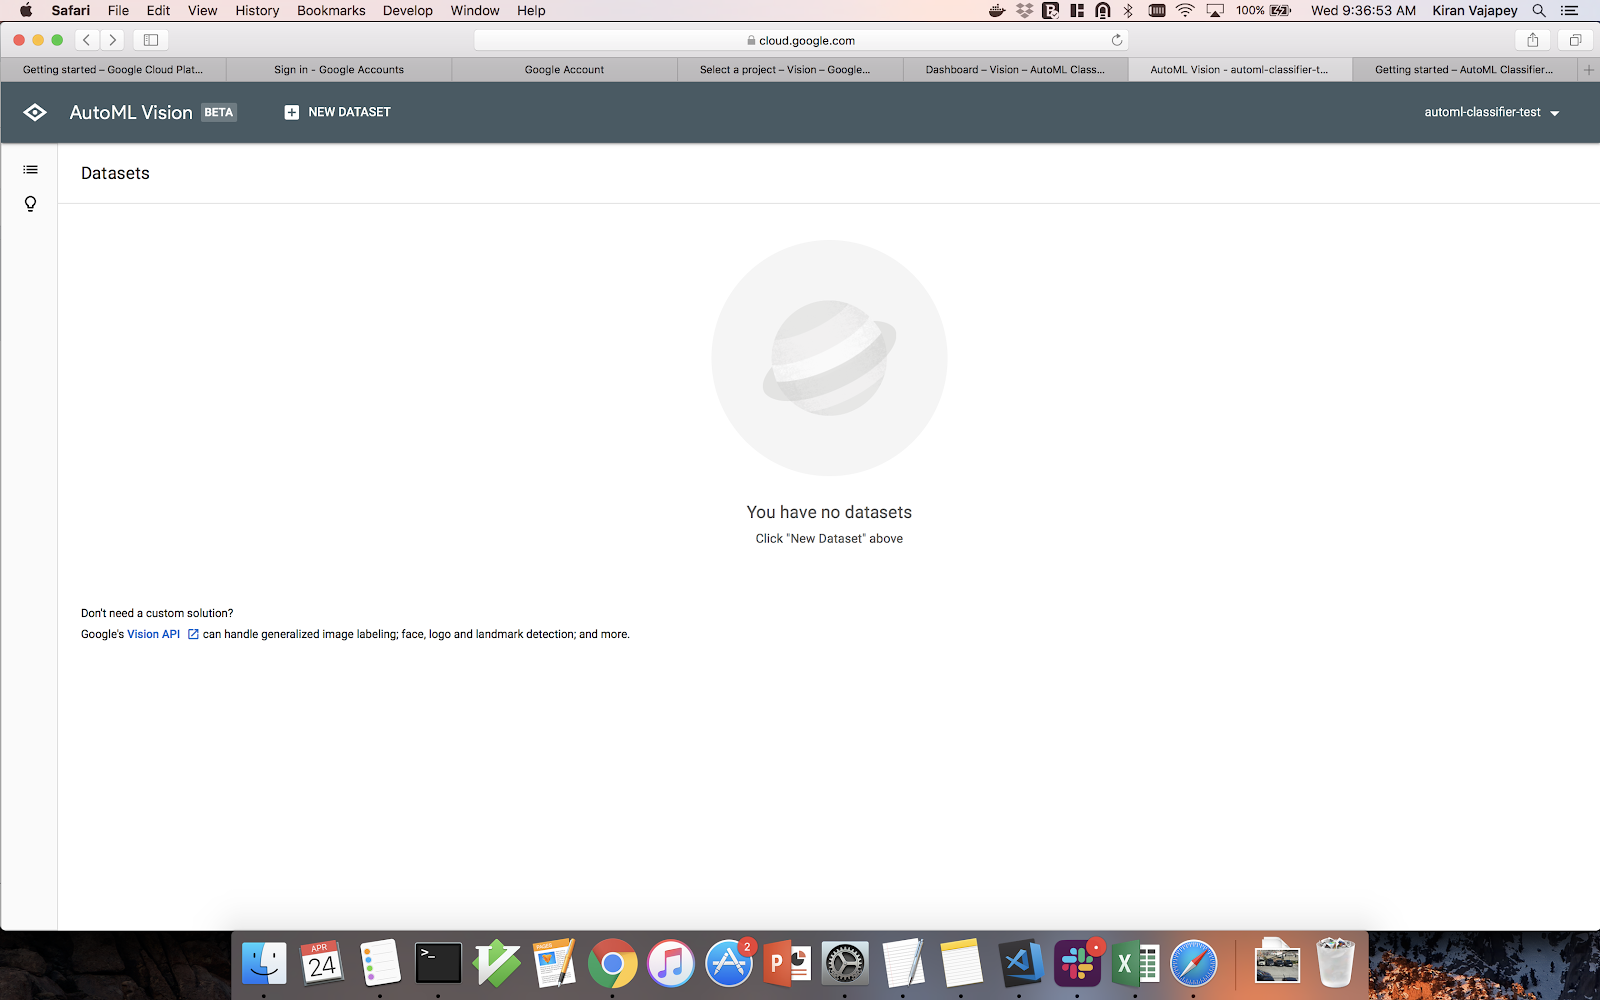
- Next, you should see the Datasets page. Click “NEW DATASET” at the top of the page.
- Select “Single-Label Classification”.
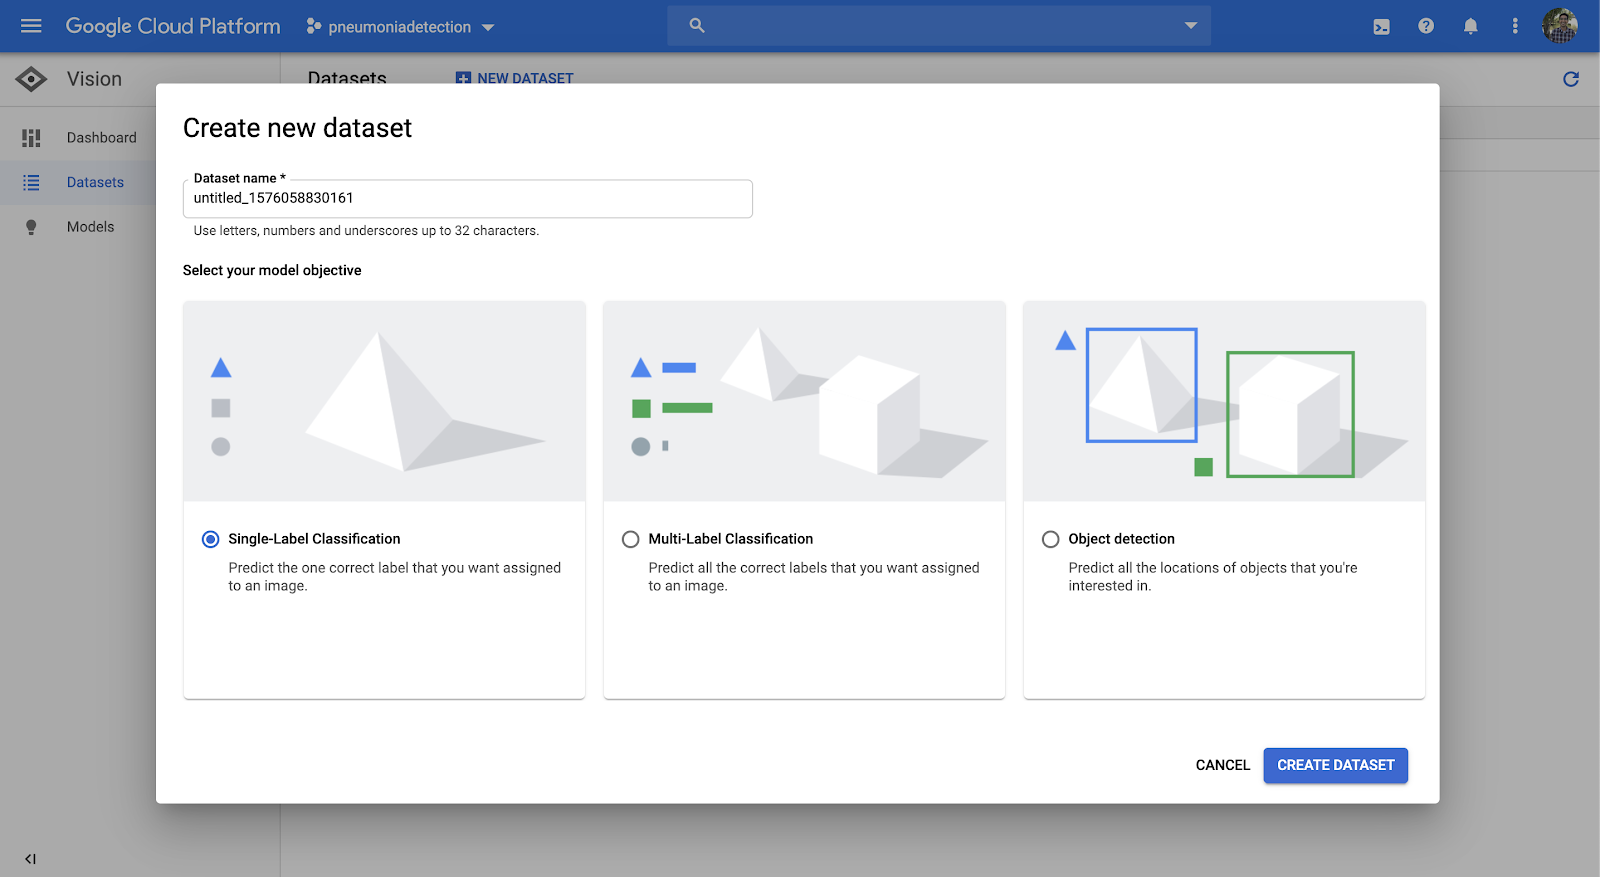
- Create your dataset.
- Give the dataset a name.
- Open the folder of Chest Xrays you downloaded from Kaggle and go into the train folder.
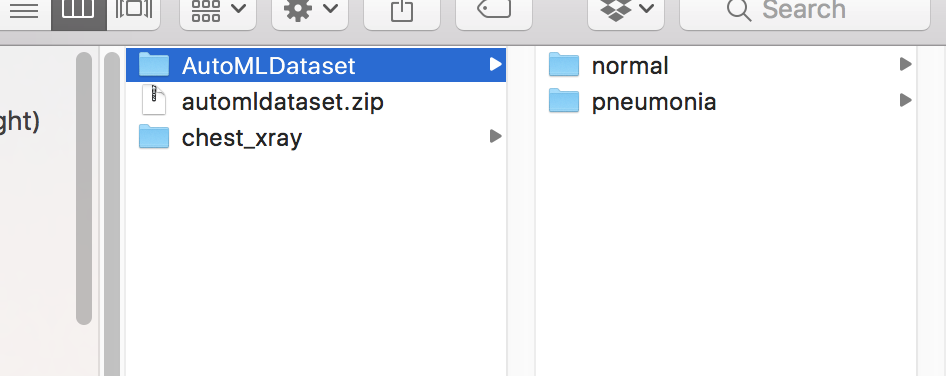
- In a separate folder create a directory with the following structure:
AutoMLDataset/normal/pneumonia/
- Then copy between 100-300 images of each type of each classification from the original train/ folder (normal, pneumonia) into the appropriate new folder (make sure to copy the same number of each type of image to have a balanced dataset)
Once you have your images in the new folders then zip the wholeAutoMLDataset/folder to createautomldataset.zip.
- Now back in the AutoML Console Dataset go ahead and upload the zip file with all the images. Again, make sure you zipped the top-level folder that contains two folders:
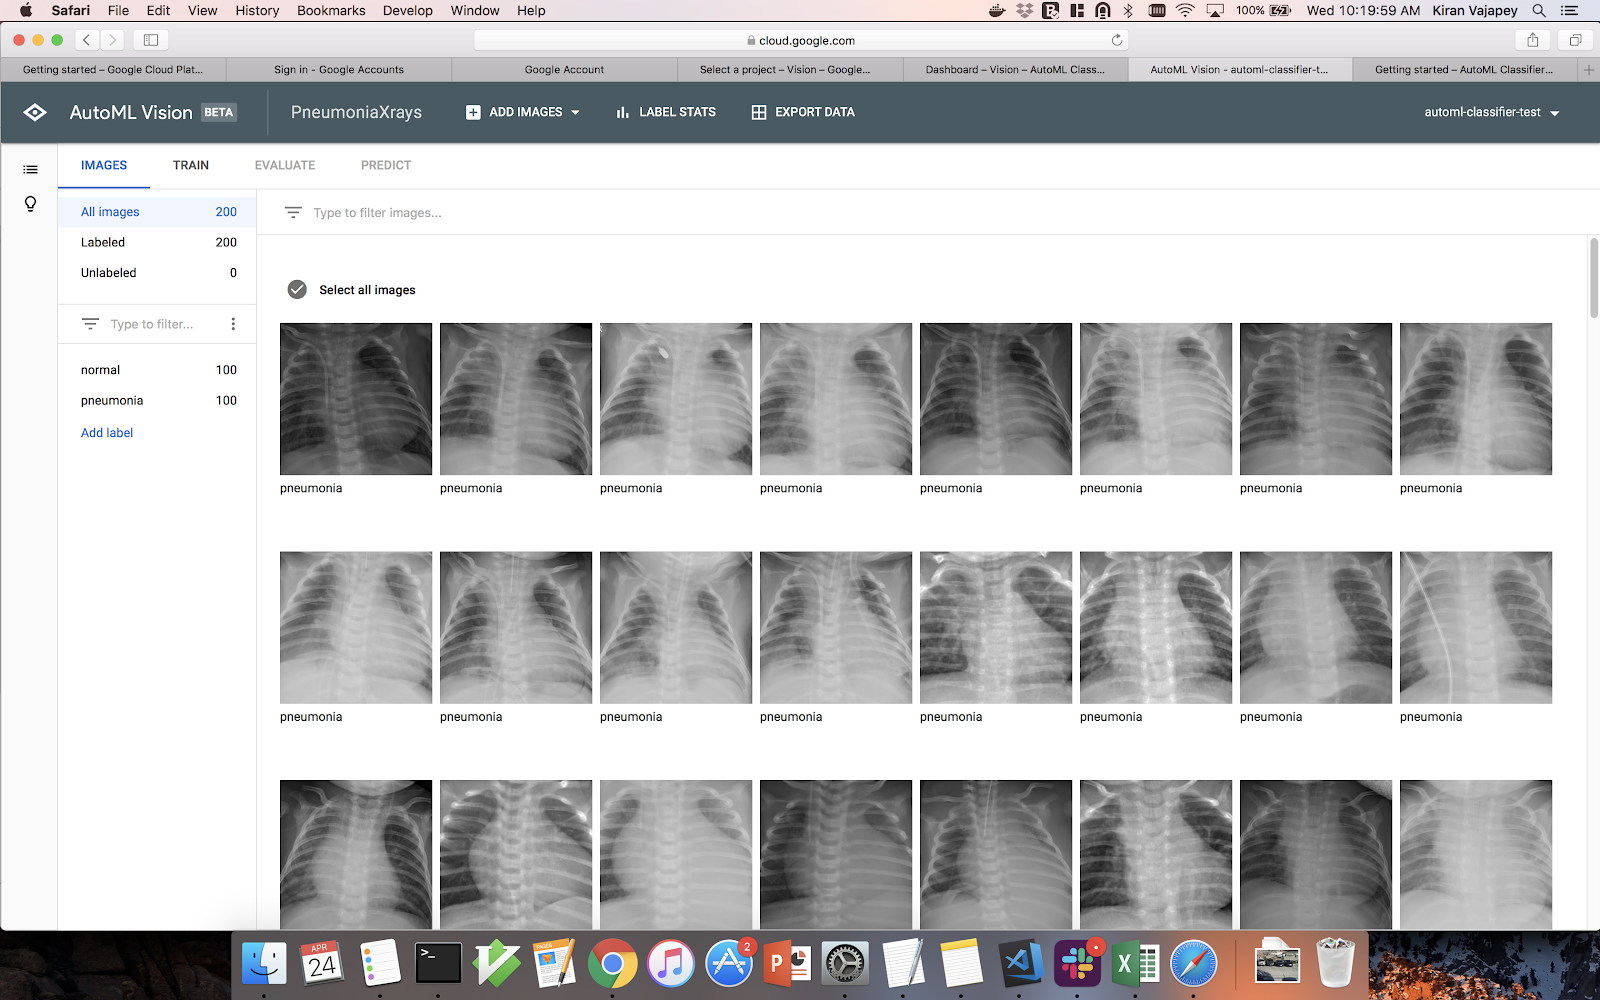
normal/andpneumonia/with the associated sets of 100-300 images in each folder. This will allow AutoML to automatically detect the correct ground truth label for each image by looking at the name of the folder in which it is contained. Once the zip file is attached go ahead and “CREATE DATASET”. For our current labeling scheme, there is no need to select the button to "Enable multi-label classification" (this allows you to apply multiple labels to a single image). This step make take a few minutes to upload all the images and set up the dataset. - Once the data is ready you should see a screen with all the images you added as well as a label of “normal” or “pneumonia” under each image. These are the images and ground truth labels that will be used to train/test/validate your pneumonia detector model.
- Next click on the “TRAIN” tab and here you will see the distribution of images as well as the splits for training, validation, and test images.
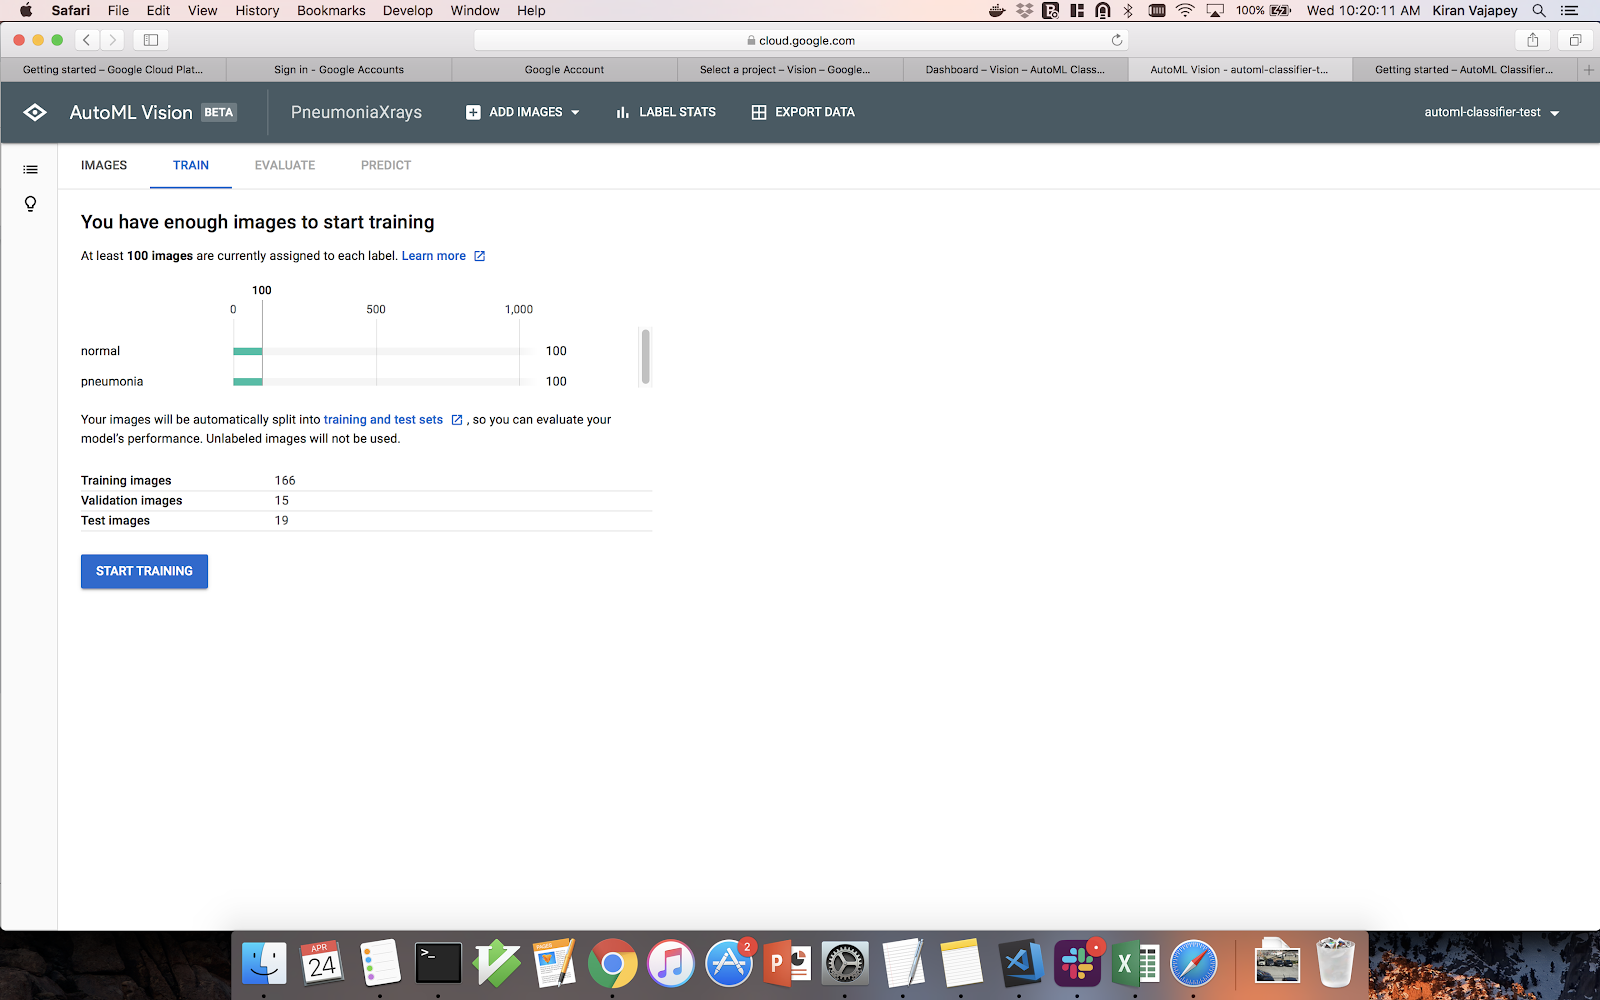
- Click “START TRAINING” to begin training your pneumonia classification model. In the options keep all the defaults (Cloud-hosted, 8 node hour) and then start the training.

- Now the model is in the training phase. Go grab a cup of coffee and stretch your legs. Once the model training is done you will be notified via email.
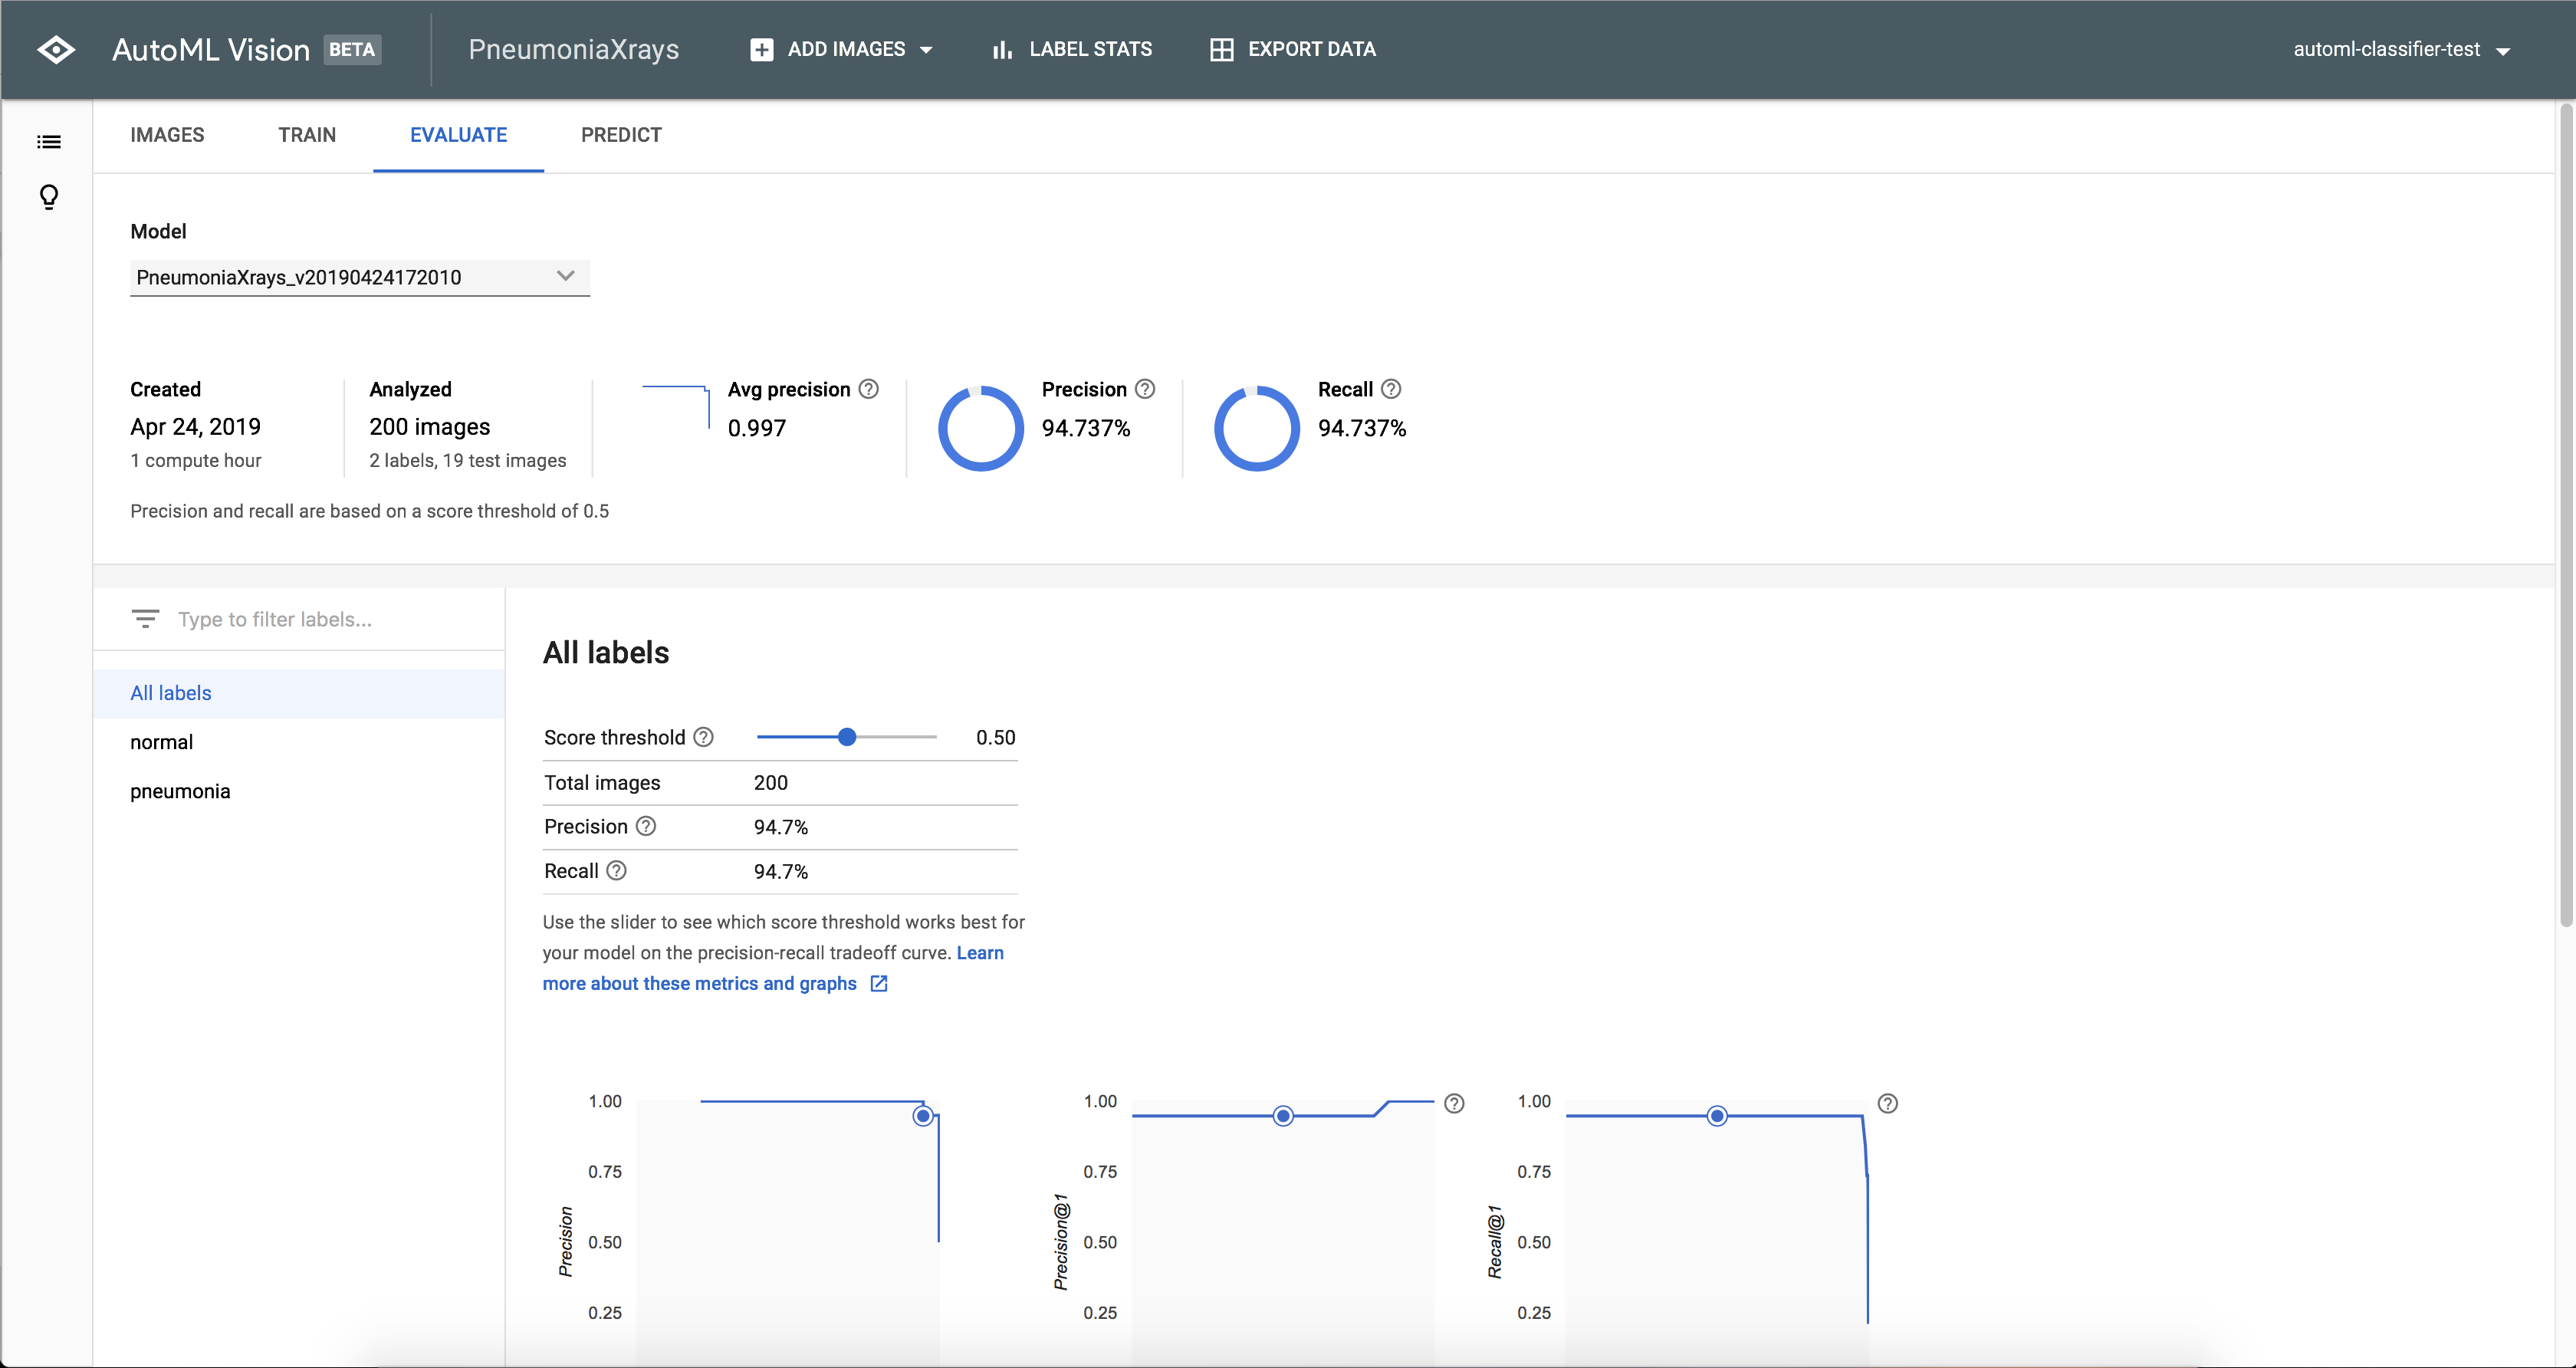
- Once the training is complete you can click on the “EVALUATE” tab and you will see various metrics about the model such as precision, recall, and a confusion matrix. Try to understand what each of these metrics means and how they are calculated.
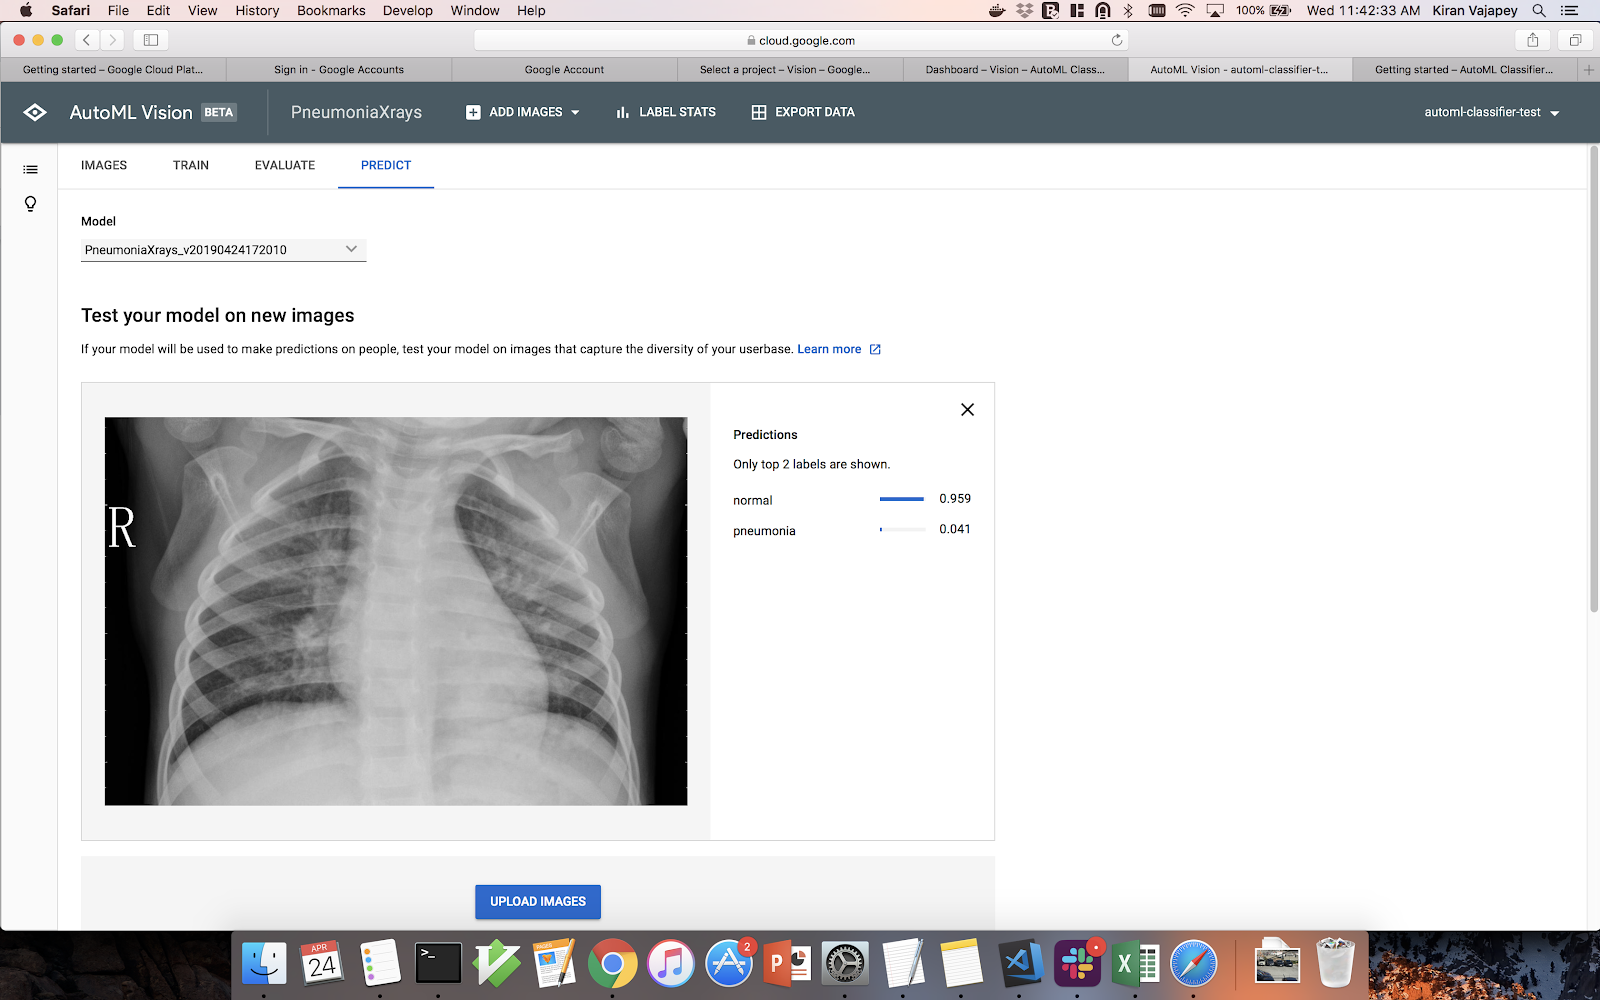
- Optional: Next click on the “TEST&USE” tab and this is where you can test the model on new data that the model has never seen. If you click “UPLOAD IMAGES” and select an image from the Kaggle dataset that you did NOT use in the training set of images and watch the model predict whether or not the patient in the x-ray has pneumonia or not. Try to find images that produce both correct and wrong predictions.
- That's it! You've built your first AI model! Now that you know how to upload data and train the model, follow the steps above for 3 additional variations on the dataset, for a total of 4 models. We recommend creating new folders, new zip files, and new datasets in AutoML so that you can keep track of which iteration you're on and retain the results of each trained model for reference:
- Clean/Unbalanced: Create a model using 100 "normal" images and 300 "pneumonia" images.
- Dirty/Balanced: Create a model with 100 "normal" images and 100 "pneumonia" images, but deliberately create a "dirty" dataset by putting 30 "normal" images in the
pneumoniafolder and 30 "pneumonia" images in thenormalfolder. - 3-Class: Note that the filenames of images in the "pneumonia" class have 2 standards; for example:
person75_bacteria_366.jpegandperson80_virus_150.jpeg. The inclusion of the word "bacteria" indicates that this was a case of bacterial pneumonia, and the word "virus" means this was a case of viral pneumonia. Go back and create a dataset with 3 classes: "normal", "bacterial pneumonia" and "viral pneumonia".
Once you have completed the project, don't forget to disable the Google Cloud Platform billing for this project. You can find those instructions here.